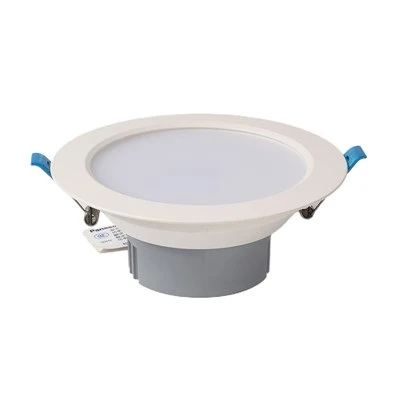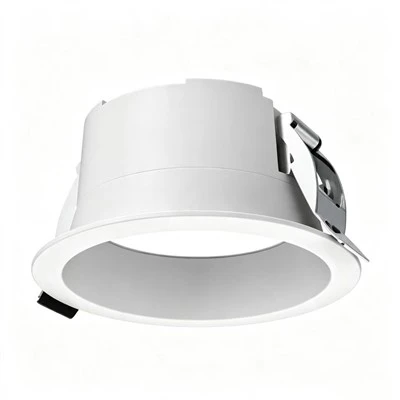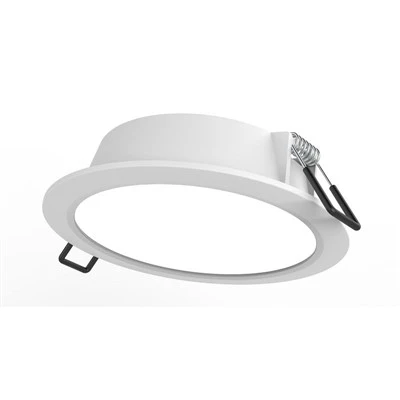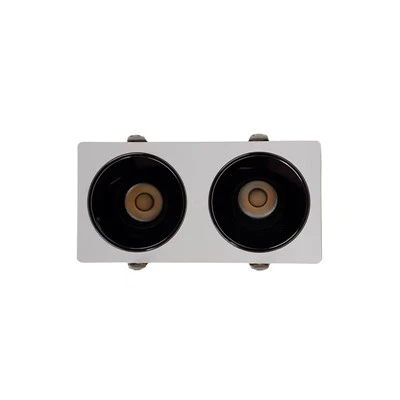

Hey there! As a supplier of Dining Room Downlights, I'm super stoked to share with you how to install these bad boys in your dining room. Whether you're a DIY enthusiast or just looking to spruce up your space, this guide will walk you through the process step by step.
Why Choose Dining Room Downlights?
Before we dive into the installation, let's talk about why dining room downlights are a great choice. They provide focused and even lighting, which is perfect for a dining area. You can create a warm and inviting atmosphere, making your meals more enjoyable. Plus, they come in a variety of styles and designs, so you can find the ones that match your decor.
If you're interested in different types of downlights, check out our Low Glare LED Downlights, Slimline LED Downlights, Thin LED Downlights, and White Surface Mounted Downlight. These options offer unique features and benefits that can enhance your dining room lighting.
Tools and Materials You'll Need
First things first, gather all the tools and materials you'll need for the installation. Here's a list to get you started:
- Downlights: Of course, you'll need the actual downlights. You can choose from our wide range of Dining Room Downlights.
- Screwdriver: A Phillips head screwdriver will come in handy for removing and installing screws.
- Wire strippers: These are used to strip the insulation off the wires.
- Electrical tape: To insulate the wires and prevent any electrical hazards.
- Ladder: You'll need a ladder to reach the ceiling.
- Pencil: To mark the locations where you'll install the downlights.
- Drill: If you need to make holes in the ceiling.
Step 1: Plan Your Layout
Before you start installing the downlights, it's important to plan your layout. Decide how many downlights you want to install and where you want to place them. Consider the size of your dining room and the amount of light you need. You can use a pencil to mark the locations on the ceiling.
A good rule of thumb is to space the downlights evenly across the ceiling. For a small dining room, you might only need 2-3 downlights. For a larger dining room, you might need 4-6 or more. Make sure to leave enough space between the downlights to avoid creating a harsh or uneven lighting effect.
Step 2: Turn Off the Power
Safety first! Before you start working on the electrical wiring, make sure to turn off the power to the dining room at the circuit breaker. This will prevent any electrical shocks or accidents. You can use a voltage tester to double-check that the power is off.
Step 3: Cut the Holes
Once you've marked the locations for the downlights, it's time to cut the holes in the ceiling. You can use a drill to make a small pilot hole in the center of each mark. Then, use a hole saw to cut the larger hole. Make sure the holes are the right size for the downlights you've chosen.
Step 4: Install the Junction Boxes
Next, you'll need to install the junction boxes. These are used to connect the electrical wires to the downlights. You can use a screwdriver to attach the junction boxes to the ceiling. Make sure they are securely fastened.
Step 5: Connect the Wires
Now it's time to connect the wires. You'll need to strip the insulation off the ends of the wires using the wire strippers. Then, connect the wires according to the manufacturer's instructions. Usually, you'll connect the black wire to the black wire, the white wire to the white wire, and the green or bare wire to the ground wire.
Once you've connected the wires, use electrical tape to insulate the connections. This will prevent any electrical shorts or hazards.
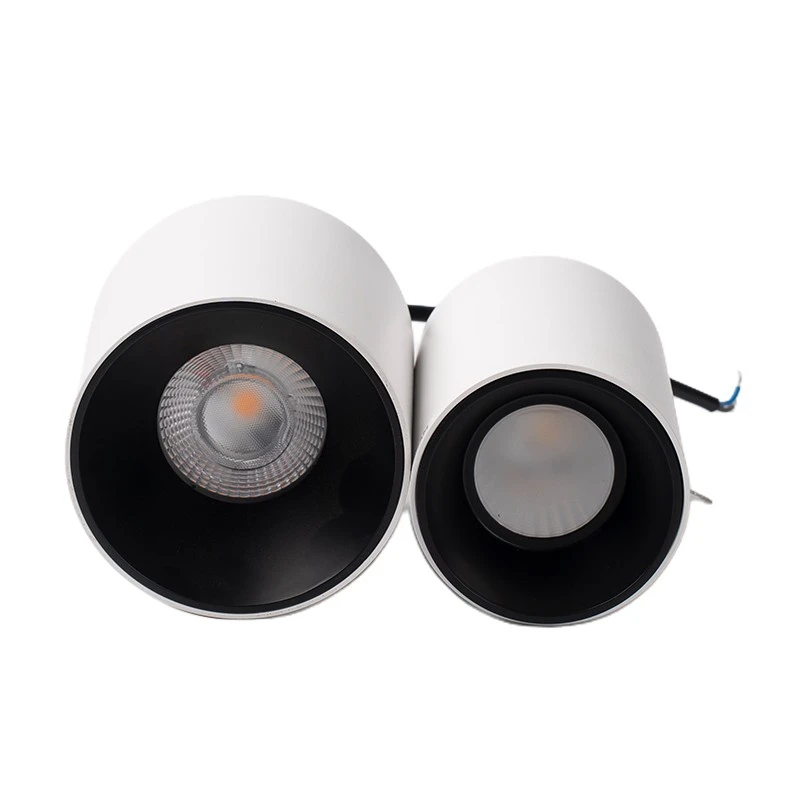
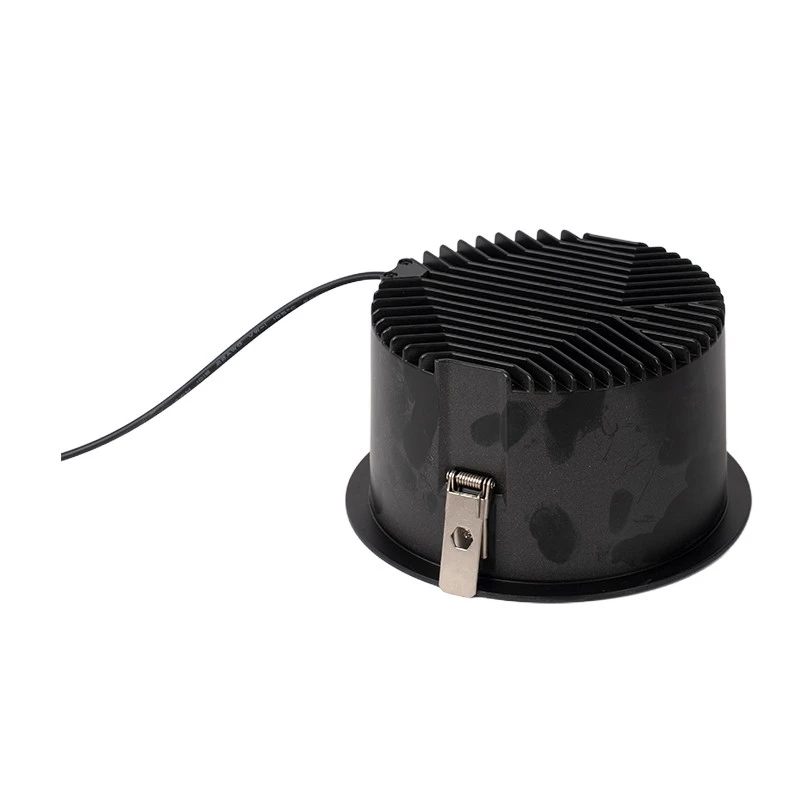
Step 6: Install the Downlights
After you've connected the wires, it's time to install the downlights. You can insert the downlights into the holes in the ceiling and secure them using the mounting clips or screws. Make sure they are level and flush with the ceiling.
Step 7: Test the Lights
Once you've installed all the downlights, it's time to test them. Turn the power back on at the circuit breaker and switch on the lights. If everything is working properly, you should see a nice, even light in your dining room.
Step 8: Adjust the Lights
If you're not happy with the lighting effect, you can adjust the angle of the downlights. Most downlights have a swivel or adjustable feature that allows you to direct the light where you want it. You can also adjust the brightness of the lights using a dimmer switch.
Troubleshooting Tips
If you encounter any problems during the installation, here are some troubleshooting tips:
- No power: Check the circuit breaker to make sure the power is on. Also, check the connections to make sure they are secure.
- Flickering lights: This could be a sign of a loose connection or a problem with the wiring. Check the connections and make sure they are tight.
- Uneven lighting: If the lights are not providing an even lighting effect, you may need to adjust the angle of the downlights or add more lights.
Conclusion
Installing dining room downlights is a great way to enhance the look and functionality of your dining room. By following these steps, you can install the downlights yourself and save money on installation costs. Remember to choose the right downlights for your dining room and follow the manufacturer's instructions.
If you have any questions or need more information about our Dining Room Downlights, feel free to reach out. We're here to help you create the perfect lighting for your dining room. Whether you're a homeowner, interior designer, or contractor, we can provide you with the high-quality downlights you need. Contact us today to discuss your requirements and get a quote.
References
- General knowledge of electrical installation and lighting design.
- Manufacturer's instructions for the specific downlights used.